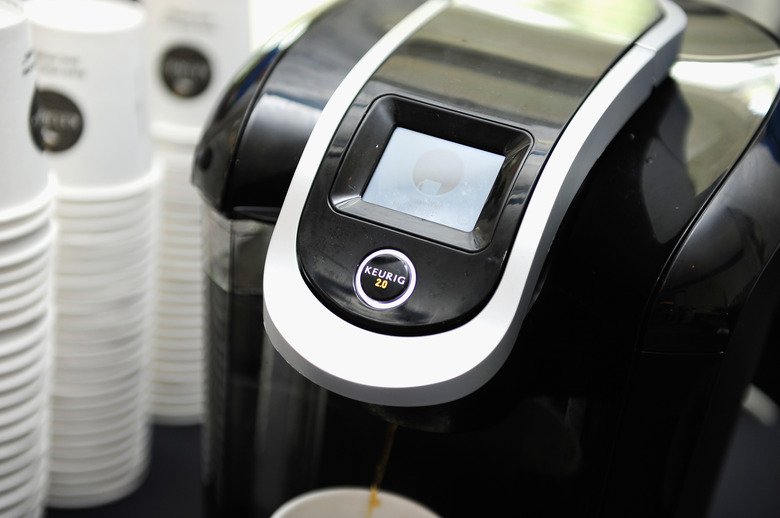
If your Keurig coffee maker isn’t brewing like it used to or you’re facing error messages, a reset might be just what you need. Resetting your machine can clear glitches and restore smooth operation without the hassle of a full repair.
Whether your Keurig is acting unresponsive, showing a blinking light, or not dispensing coffee properly, knowing how to reset it gives you a quick fix to get back to your morning routine. This simple process can save you time and frustration while ensuring your coffee maker runs like new again.
Understanding the Keurig Coffee Maker Reset Process
Resetting your Keurig coffee maker resolves minor glitches and restores its normal operation. Knowing when and why to reset helps you maintain consistent performance.
When and Why You Should Reset Your Keurig
You reset your Keurig when the machine becomes unresponsive, displays error lights, or behaves unusually during brewing. Resetting clears temporary errors stored in the system’s memory. It prevents unnecessary repairs by troubleshooting software or hardware hiccups. Resetting also helps recalibrate internal components if the coffee dispenses incorrectly or water flow seems irregular.
Common Issues That Require a Reset
You reset your Keurig coffee maker to fix issues like:
- Unresponsive control panel where buttons don’t react
- Flashing or blinking lights signaling error states
- Error messages or codes appearing on the display
- Incorrect water flow causing under or over-extraction
- Failure to start brewing despite proper setup
- Stuck brew cycle that doesn’t complete
Resetting addresses these issues by rebooting software and reconnecting hardware components for optimal functionality.
Step-by-Step Guide to Reset a Keurig Coffee Maker
Follow these steps to reset your Keurig coffee maker effectively and restore its normal operation.
Unplugging and Power Cycling the Machine
Start by unplugging your Keurig from the power outlet. Leave it unplugged for 5 minutes to allow internal components to discharge completely. Plug the machine back in and power it on. This simple power cycle clears minor glitches and resets the system without affecting saved settings.
Performing a Factory Reset
Locate the factory reset option based on your Keurig model. For most models, press and hold the brew button and power button simultaneously for 5 seconds until lights flash. This action resets all preferences and error messages to factory defaults. Use this when power cycling fails and the machine continues to show errors or abnormal behavior.
Resetting the Water Reservoir and Brew Settings
Remove the water reservoir and refill it with fresh, cold water to the maximum fill line. Reattach the reservoir securely to ensure proper connection with the machine. Adjust the brew size settings to your preference. This step resets water detection sensors and recalibrates brewing parameters, resolving issues with improper water flow or inconsistent coffee strength.
Tips to Maintain Your Keurig After Reset
Maintaining your Keurig after a reset helps ensure reliable performance and extends its lifespan. Focus on cleaning, descaling, and regular upkeep to avoid recurring issues.
Cleaning and Descaling the Machine
Clean your Keurig every week by removing and washing the water reservoir, drip tray, and K-cup holder with warm soapy water. Use a soft brush or cloth to clear any coffee grounds from the needle. Descale the machine every 3 to 6 months using a descaling solution or white vinegar to dissolve mineral buildup. Run a descaling cycle by filling the reservoir with the solution and brewing without a K-cup until empty. Rinse thoroughly with fresh water through multiple brew cycles to remove residue, ensuring optimal water flow and preventing clogs.
Regular Maintenance to Avoid Future Issues
Replace the water filter cartridge every 2 months to maintain water quality and taste. Inspect the machine for leaks, cracks, or loose parts monthly, tightening or replacing components as necessary. Avoid using hard water to reduce mineral deposits and consider using filtered or bottled water. Keep the external surfaces dry and clean to prevent buildup and damage. Power down and unplug your Keurig when not in use for extended periods to prevent electronic malfunctions.
Conclusion
Resetting your Keurig coffee maker is a straightforward way to tackle common glitches and get back to enjoying your favorite brew. By following the reset steps, you can quickly restore your machine’s performance without hassle.
Regular maintenance after resetting ensures your Keurig stays reliable and extends its lifespan. With a little care and timely resets, you’ll keep your coffee routine smooth and satisfying every day.

